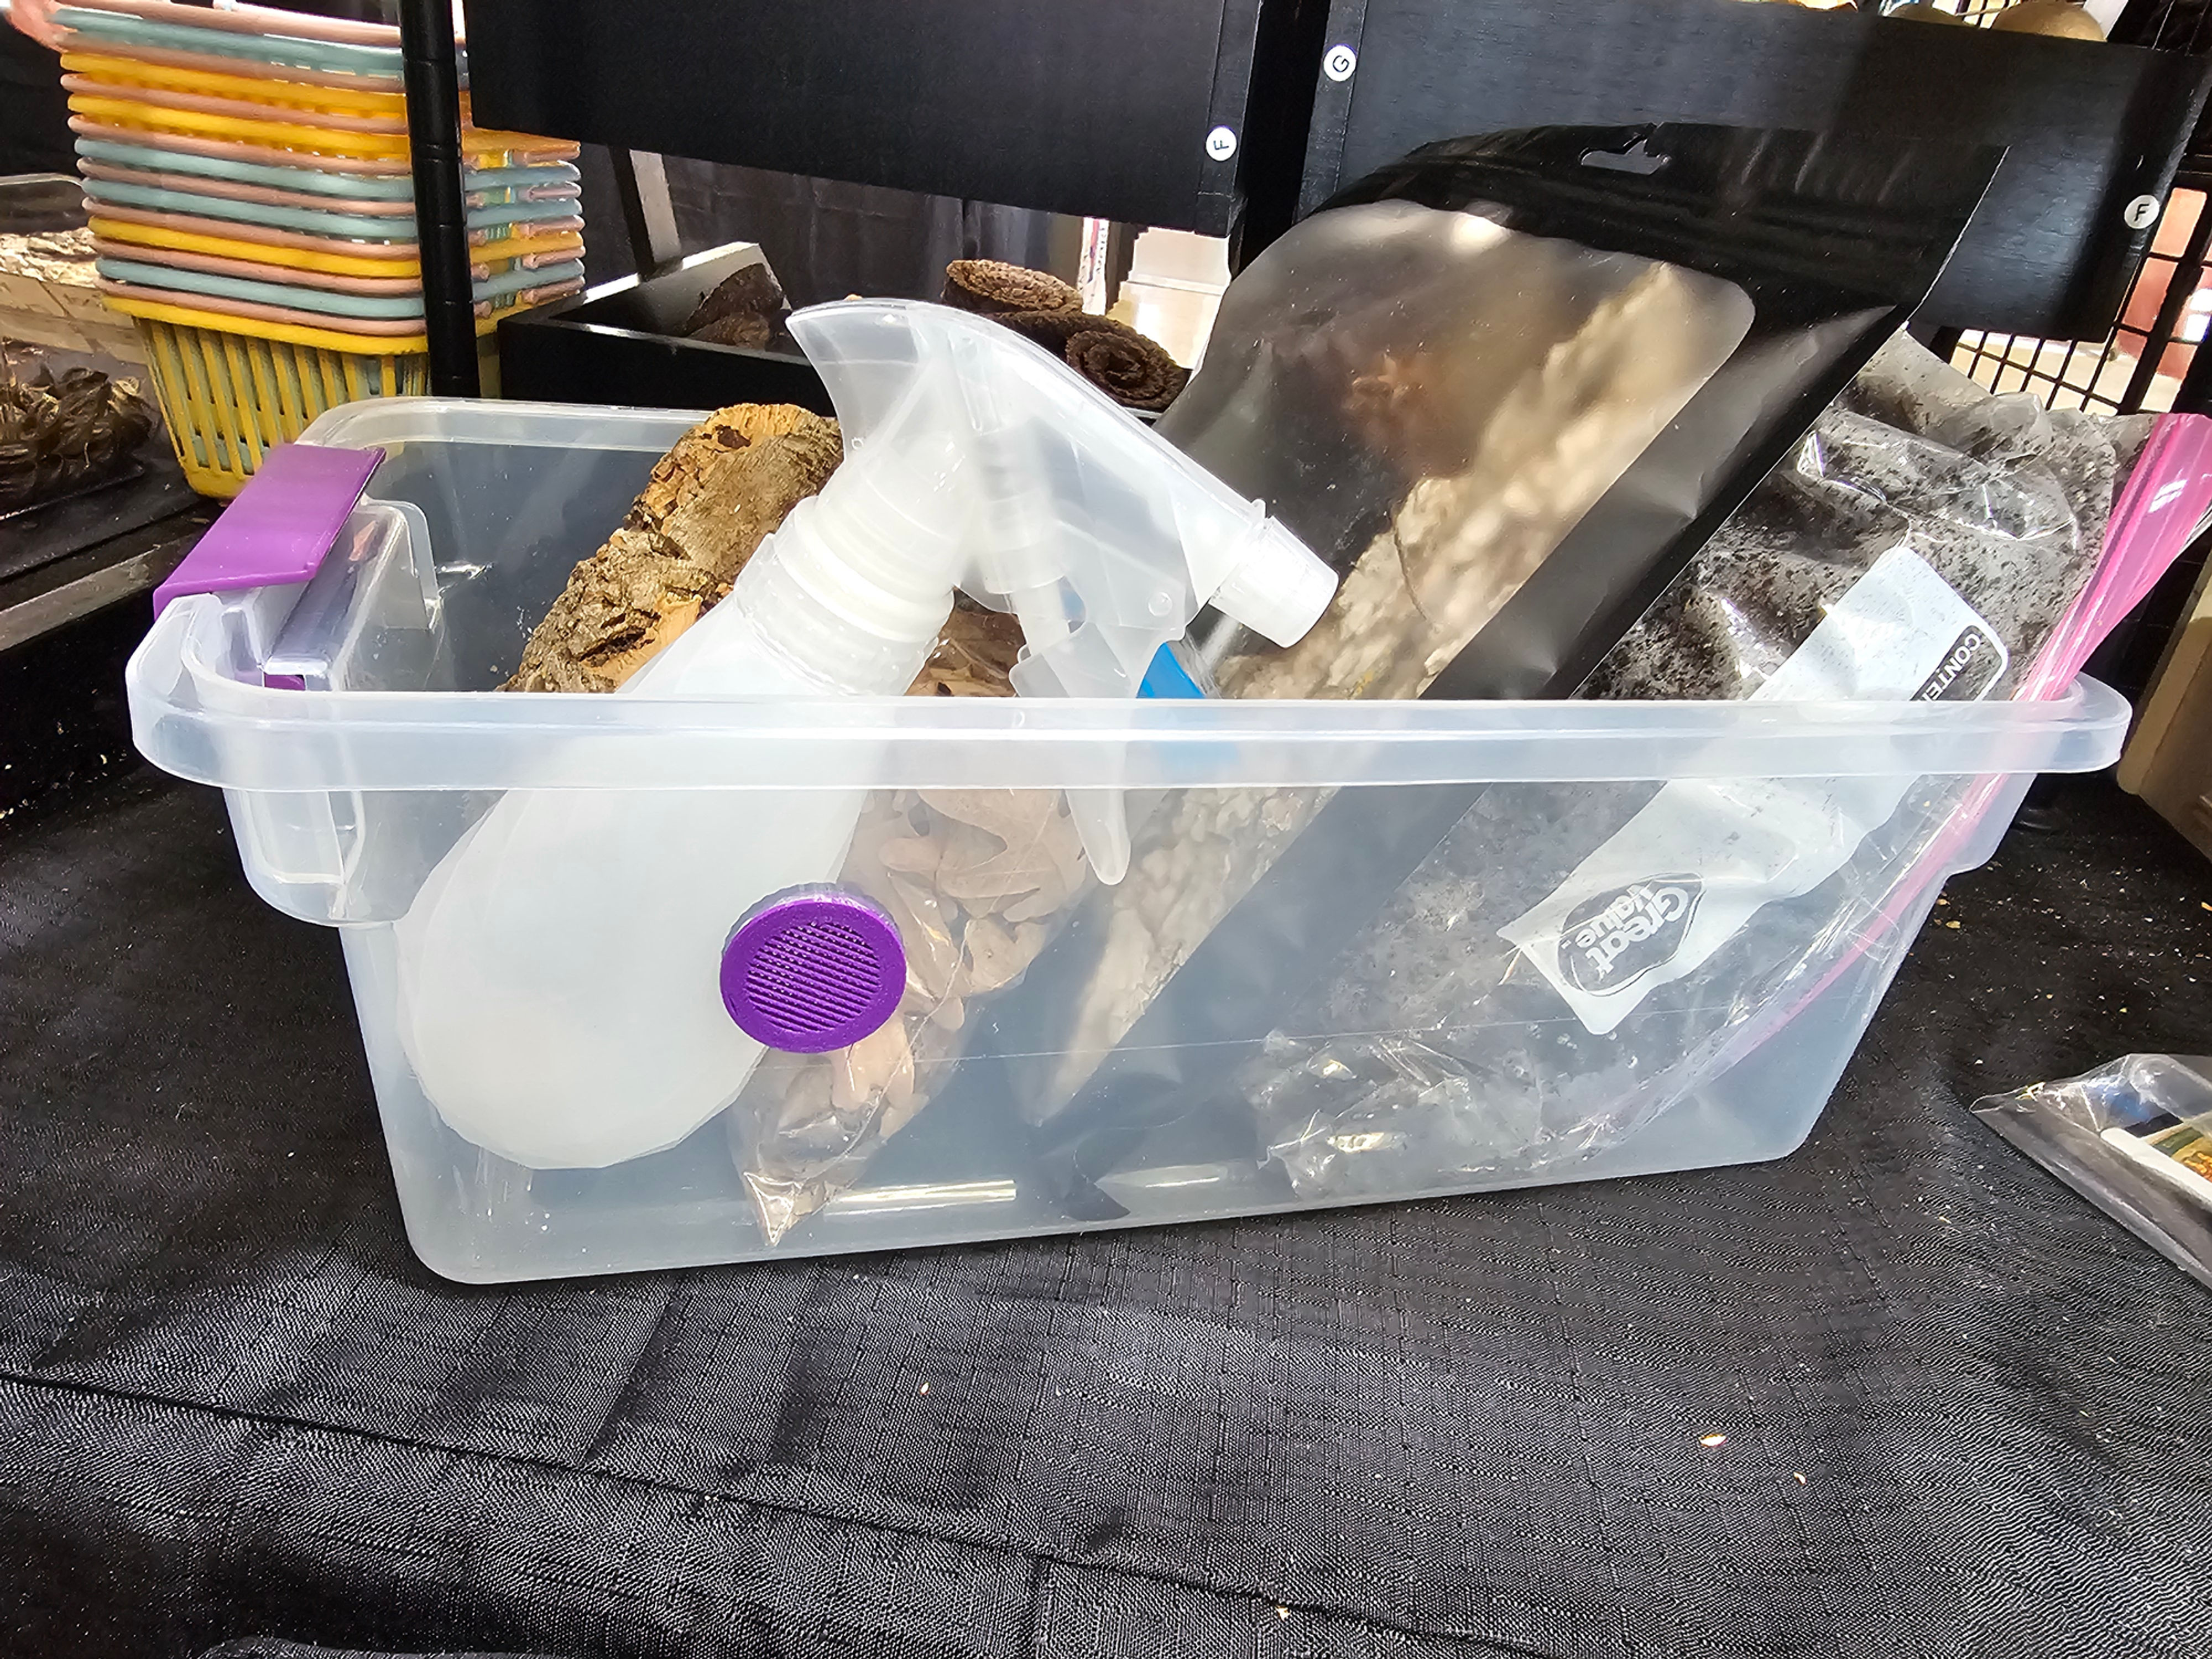

StarterHaus Isopod Starter Kit
This kit has everything you need to get started for your new tiny pets! You will receive the new and improved version that will include the new bins (6 Qt. Sterilite with the purple latches) and have two 3-D printed 1" vents.
What it comes with:
6 quart Sterilite tub with latches
2 - 1" 3-D printed screw in vents installed.
2 quarts of our premium house made isopod substrate
1 quart oak leaf litter
A few small pieces of oak bark
Small cork bark hide
Small baggie of sphagnum moss
One cuttlefish bone
3 Sweet gum pods
1 small lotus pod
A sample of our house made isopod food.
A small spray bottle
If you are ordering multiple kits and would like the spray bottle substituted for additional oak bark, cuttlefish bone, leaf litter, sweet gum pods, or lotus pods, please include what you would like as a substitute in the order notes at checkout.
Assembling your PodHaus StarterHaus isopod kit
1. Completely empty the bag of HausFloor substrate into the provided bin and level it out into an even layer along the whole bin. Do not compact/press it down.
2. On one side of the bin, add the sphagnum moss to create an even layer that covers about 10-15% of the bin.
3. In the middle of the bin, add the cork bark hide and cuttlefish bone. You will want to replace the cuttlebone once all the “meat” is gone and the thin outer layer is all that is left.
4. On the opposite side, add the bag of oak leaf litter. You can either spread it evenly over the whole bin after you add the isopods or leave it more condensed to one side.
5. Add the oak pieces, lotus pod, and sweet gum pods (or add one and save the other two to replace the one in the enclosure). Place these items wherever you would like in the bin. You can put the oak pieces and sweet gum pods throughout the bin as you would like. For example, you could add a piece of oak under the leaves and then one on top of the sphagnum moss or stack them all on top of each other. You can even tear the lotus pod in half if you choose. You’re the decorator in this section so the choice is yours.
6. Mist the moss with spray bottle so it is moist to the touch and until the substrate directly below the moss is wet. If you have a more moisture dependent species, mist down the walls towards the dry side to create the adequate moisture gradient for your specific species. (Focus on spraying the water at the walls or simply pour the water down the sides of the bin so you can see the water run down into the lowest layer of the substrate to avoid a big humidity spike and to make sure the substrate will absorb and hold to water. Keep the moss moist at all times regardless of species and maintain the moisture gradient. Never allow it to dry out.
7. Now the fun part!! Add your isopods to the bin. You can add the sphagnum moss they are in directly to the moss in your assembled bin.
8. You can feed your isopods a tiny amount of the included HausChow in the bowl, on top of the substrate on the dry side, or on top of the cork or oak bark hide about once a week. Only feed enough that they’re able to consume in about a 24-36 hour period to avoid mold growth and grain mites. You can also add a tiny slice of root vegetable like a carrot or sweet potato to go with their powdered chow.
Some species require more/less moisture than the typical moisture gradient. We provide a moderate amount of ventilation to all bins, but some species may require additional ventilation, so please make sure to do proper research on the specific species you are caring for to make sure you’re providing the proper environment for them. Cross ventilation versus top ventilation is superior.
If additional ventilation is required, you have a few options. You can carefully drill or melt very small holes into the upper part of the bin with a small drill bit or wood burning tool. Use a drill bit or hole saw to drill holes in the side and hot glue some weed barrier type mesh or wire mesh over the holes. Or you can also use a 1” hole saw to drill additional holes on the sides near the leaf litter and add vents like the two that are already installed. Visit PodHausllc.com if you want to order more vents.
· If you have any questions about the care of a specific species or in general, please don’t hesitate to contact us and/or send photos of your set up. We’re always here to help and offer assistance!